Keyboard Ninja (macOS)
Get more done without even lifting a finger.
Symbols
On macOS, special keys are represented as symbols. For reasons that will become clear by the end of this article, it's going to be worthwhile learning to recognise the symbols.
-
command / cmd
-
option / alt
-
control / ctrl / ctl
-
shift
-
delete / del
-
left arrow
-
right arrow
-
up arrow
-
down arrow
On most Mac, Mac-oriented, or Mac-friendly keyboards, the keys are marked with the relevant symbol. If you're not familiar, take a moment. The shortcuts listed in this article are presented in the shorthand.
Windows of Opportunity
One thing macOS lacks out of the box is keyboard controls for simple window management.
On Windows (the OS), moving apps around with the keyboard is trivial; snapping to either half of a display, going full-screen, exiting full-screen, and moving apps between displays is easy. On macOS, however, these actions are usually a more mouse- or trackpad-oriented affair.
It's fairly typical to see Mac users with app windows haphazardly strewn about their desktops, stacked on top of each other, miscellaneously sized. The mouse-inclined user will be frequently resizing windows or moving them out of the way to interact with other apps. Half of this is due to habitual mousing but (at least some of) the other half can be blamed on the absence of OS-level support for keyboard control.
To be a true Keyboard Ninja, you'll need to imbue your Mac with capabilities beyond its genetic limitations.
There are a number of third-party utilities available via the App Store (and elsewhere) which close this gap. The one I know and love is called Magnet.
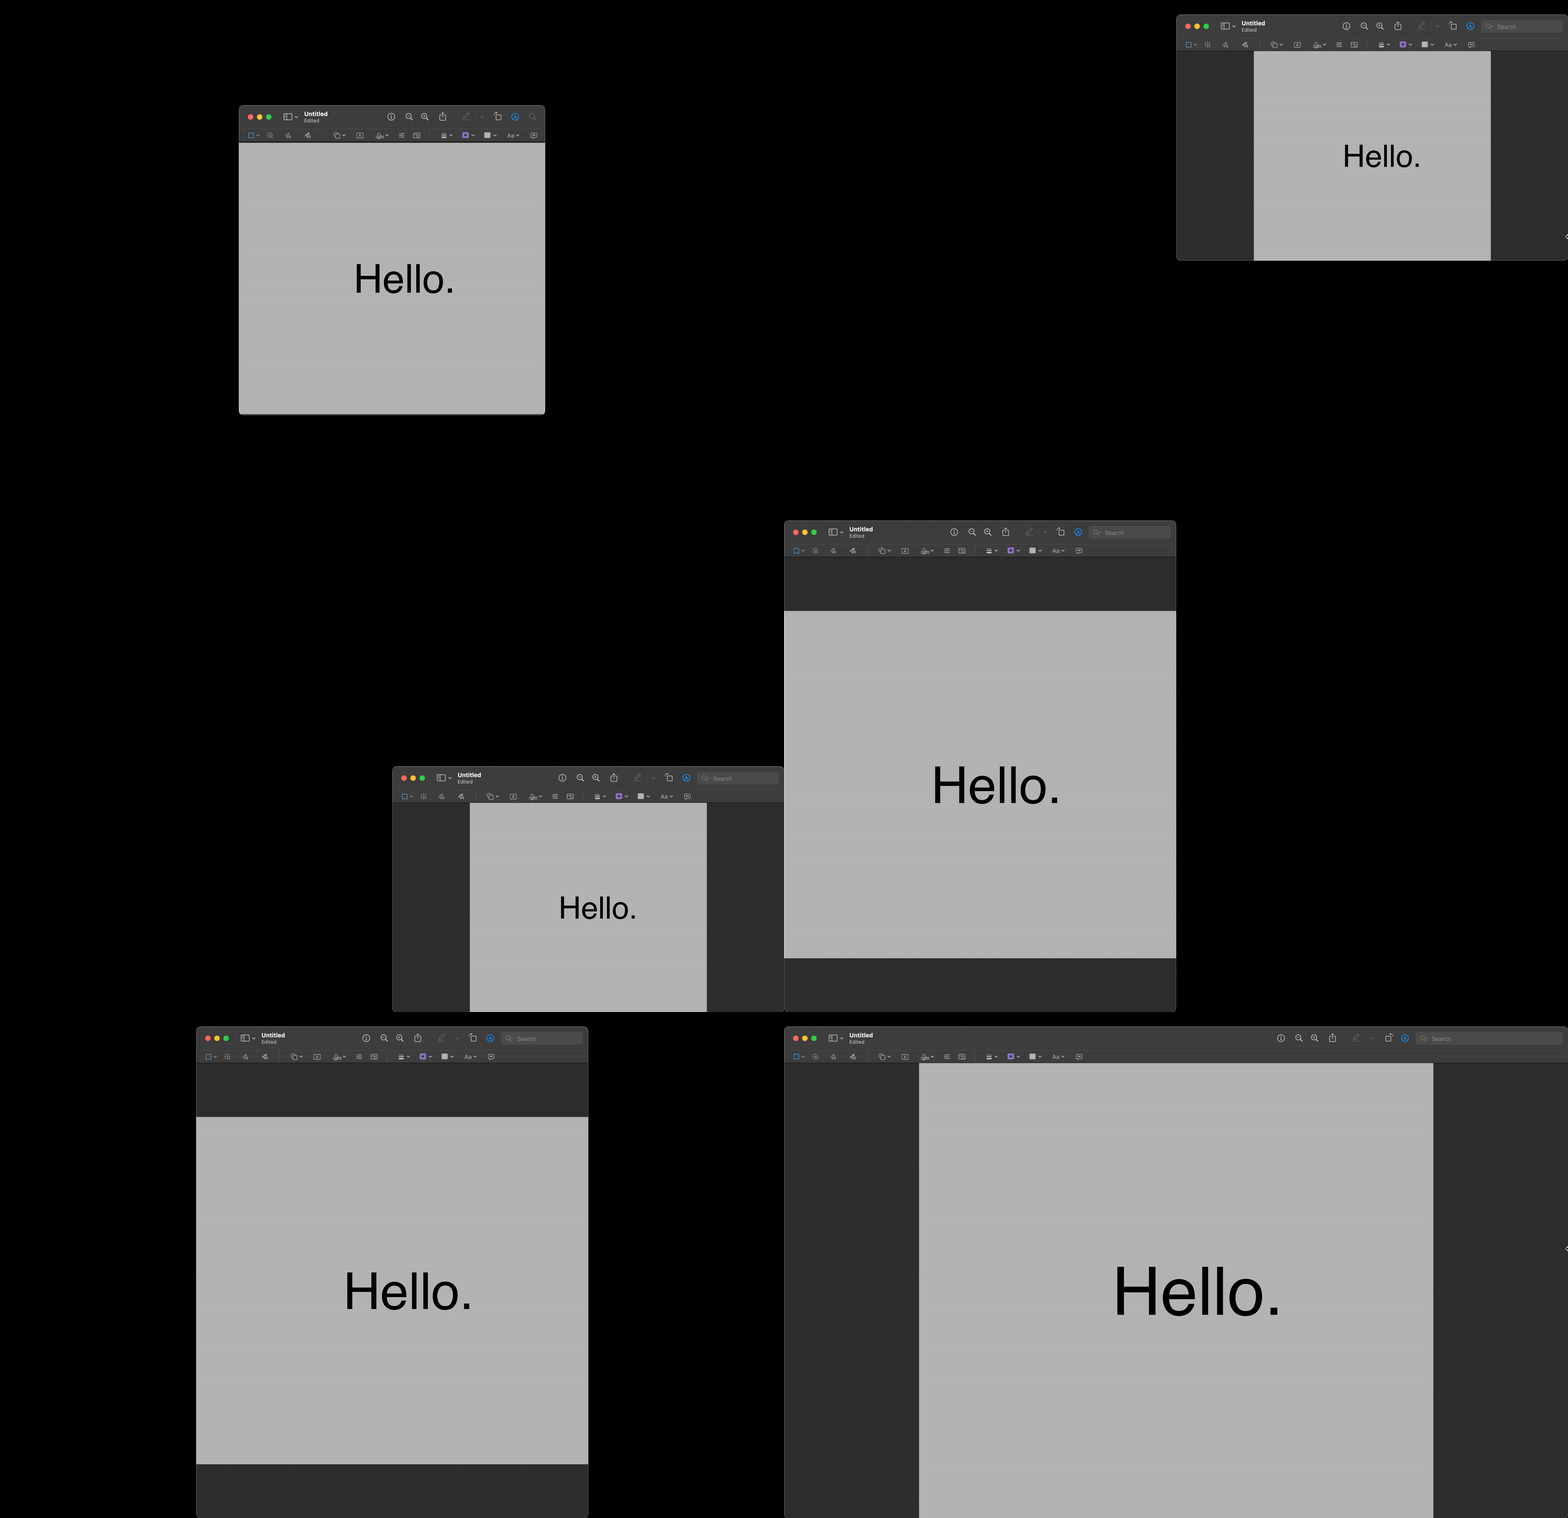
You can buy Magnet on the App Store. Personally, it has saved me way more than 3 coffee's worth of frustration in the years I've been using it. Note, however, that there are free alternatives out there. I can't vouch for any of them but I imagine they are all roughly equivalent. 🤷♀️
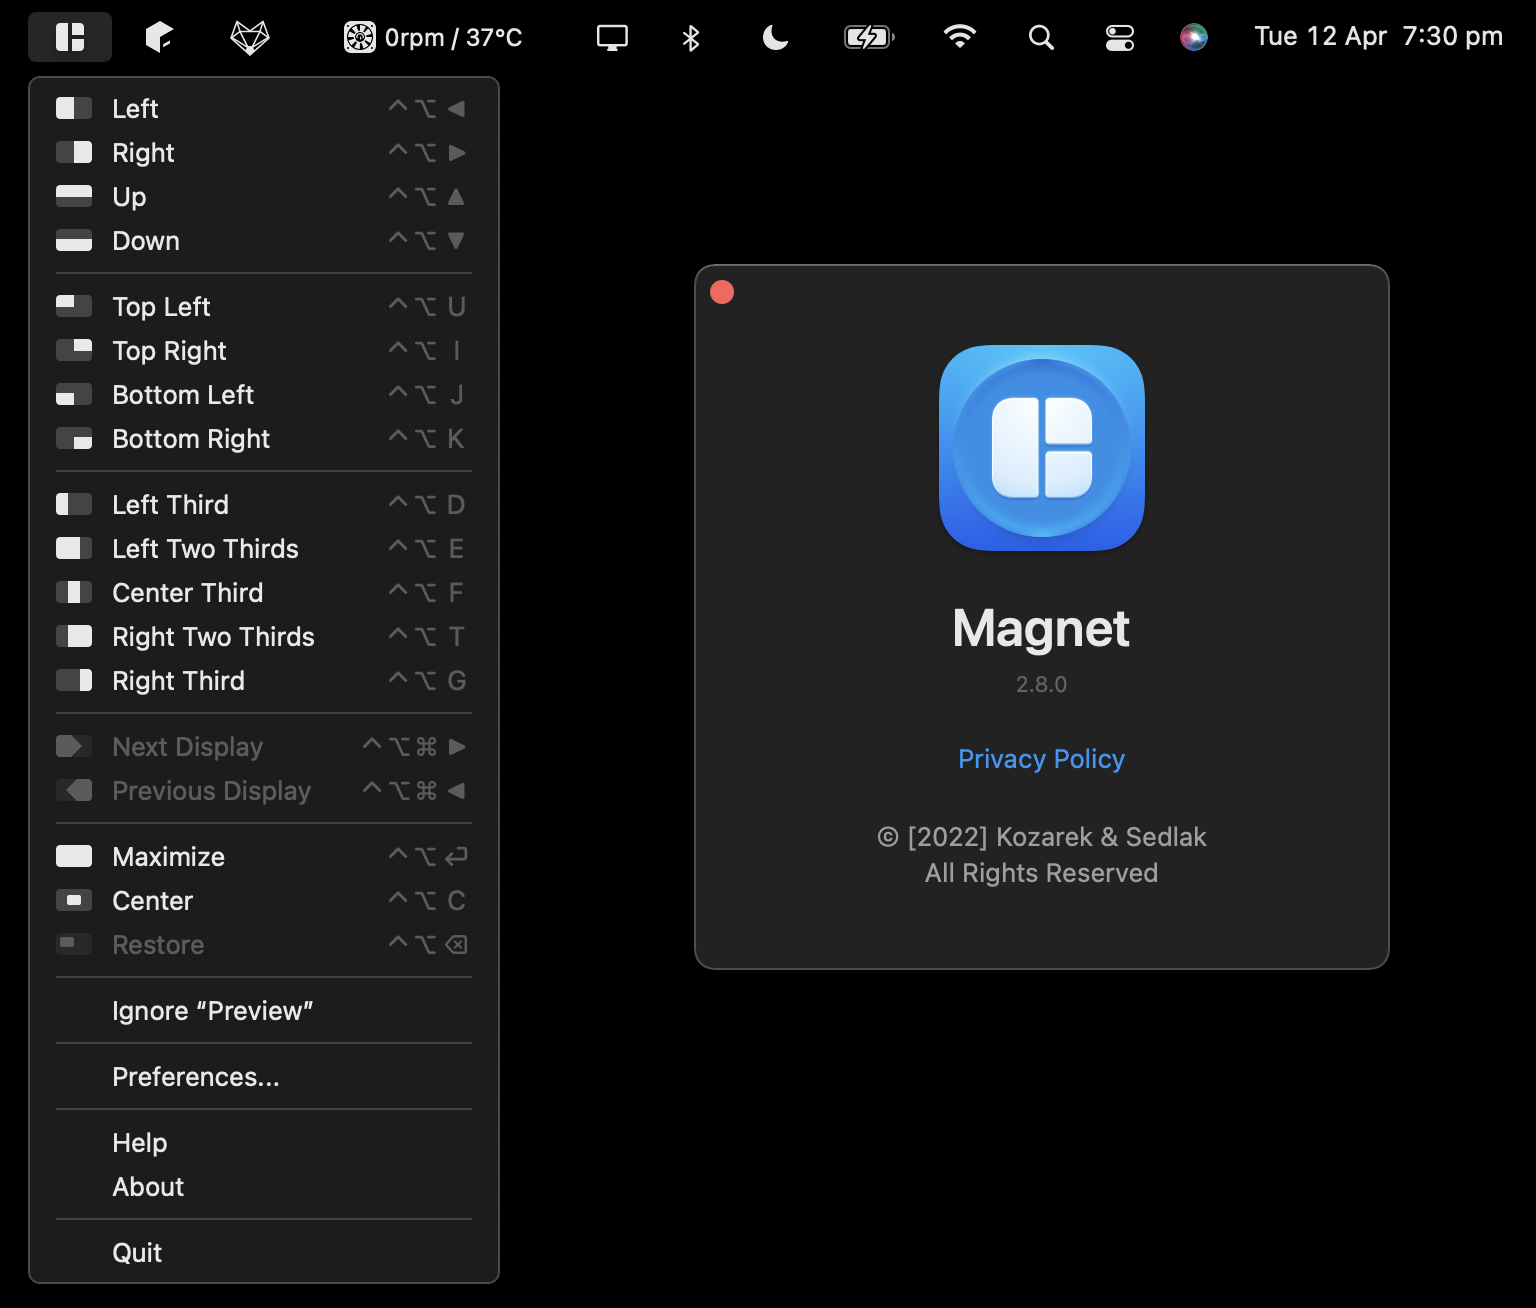
Magnet lives in the menu bar and exposes a cheat sheet of its own. It's also customisable, but the defaults are sensible. Unless you're running into conflicts with other software you can happily avoid customisation.
Delicious.
Launch apps with Spotlight Search
Many Mac users use either Mission Control or the Dock to open apps. Both options require us to first visually identify the app amidst an arrangement of others. We then dawdle our cursor over to it, hoping desperately not to misclick one of those other annoying apps that will have us fending off splash screens and "pick up where you left off" loading popups in the coming minutes.
Spotlight Search was introduced some macOSes ago. It allows users to locate just about anything, including apps on the system, and open them. For anyone with at least an average typing speed, Spotlight Search is the fastest way to open apps, provided the name is known.

Open Spotlight Search.
Press return to select.
Switch between apps with... App Switcher
With Spotlight Search now our speedy, default mechanism for opening apps, the utility of the Dock has already dropped significantly, but it has further to fall.
Switching hetween open apps with some degree of haste is just about the only useful thing left the Dock provides, but don't get too click-happy because we're about to put two ⌨️ key-shaped nails in the coffin.
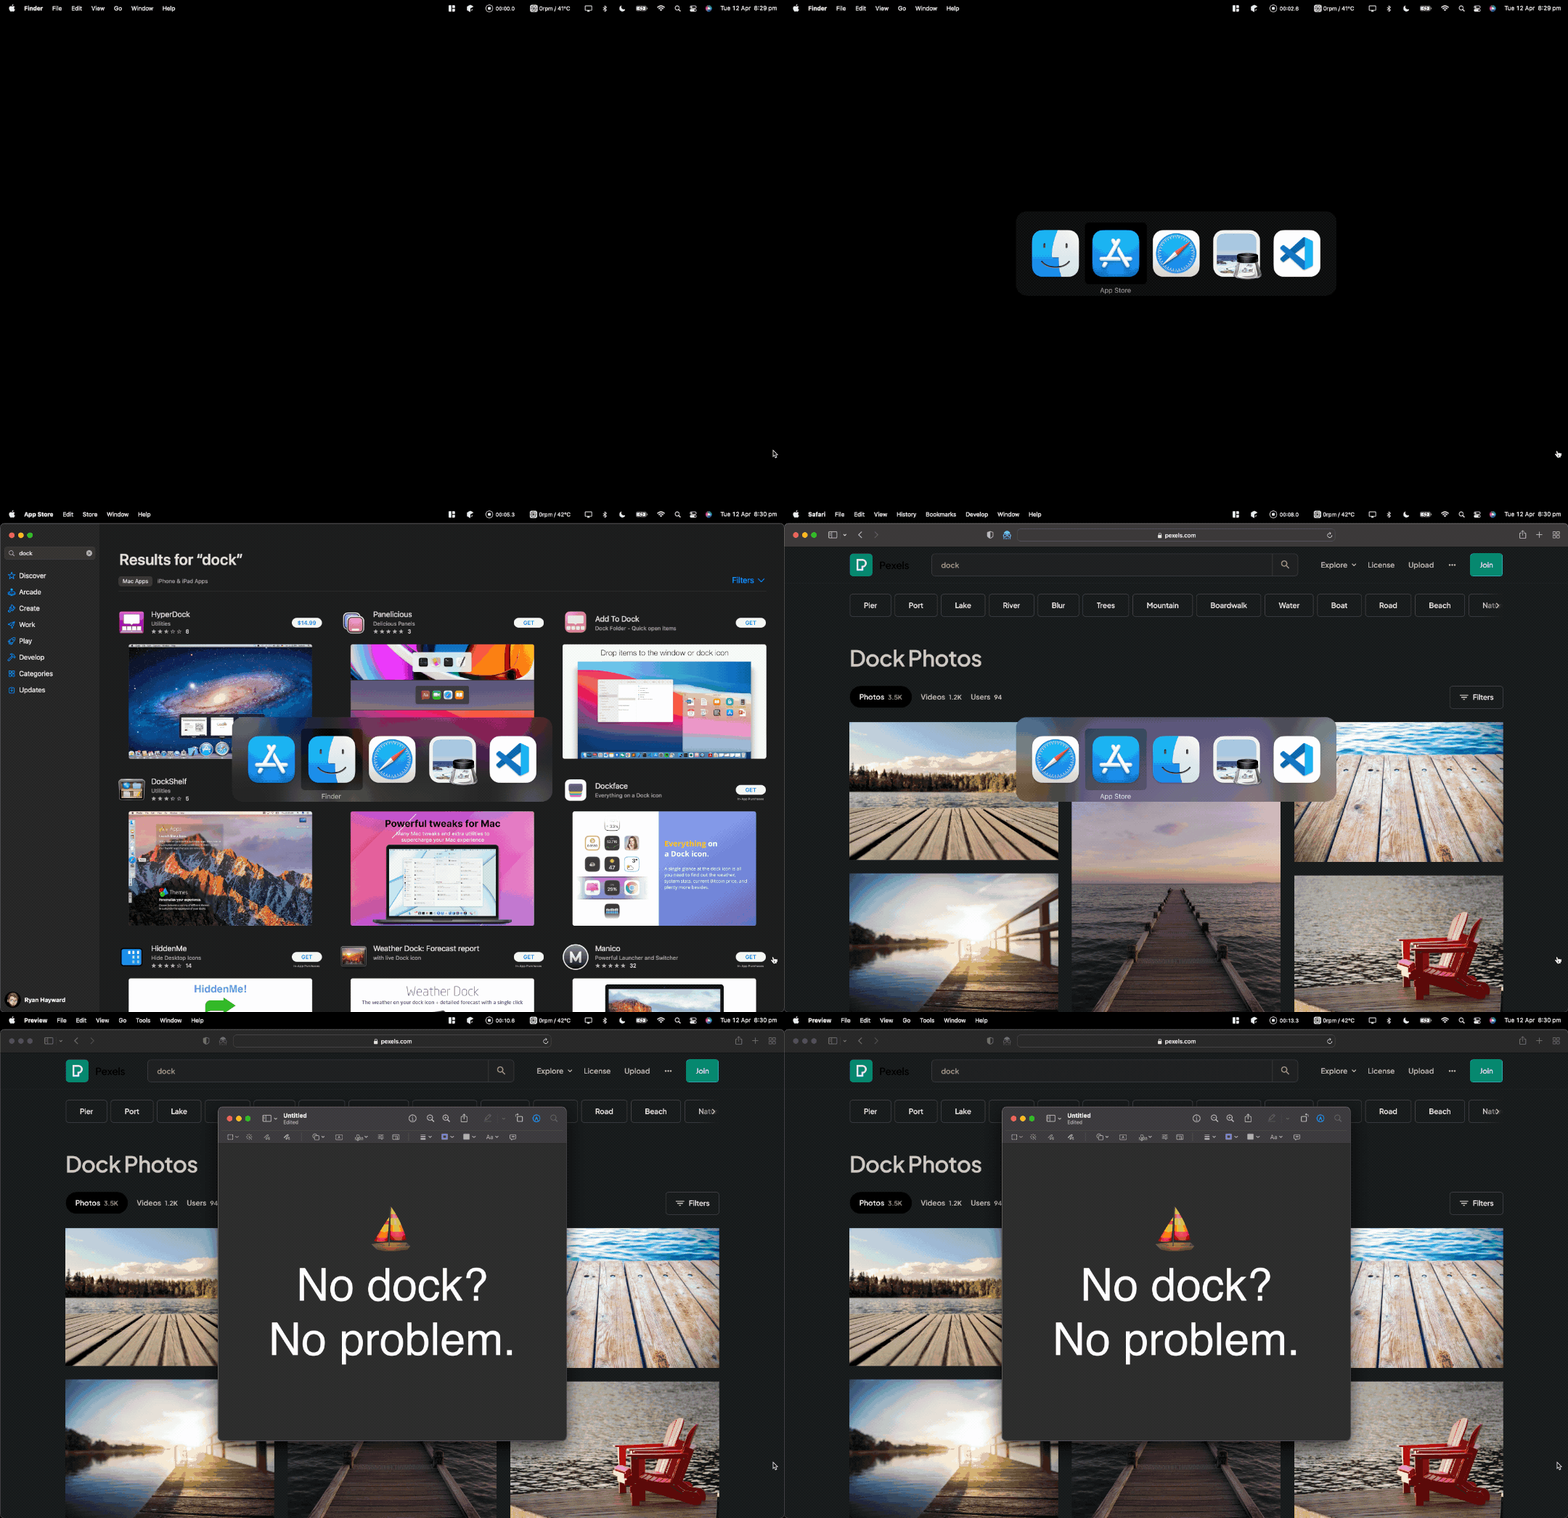
Open the App Switcher.
Cycle through apps in the App Switcher.
continue to holdTo open a minimised app, hold ⌥ when releasing ⌘.
* For any Windows users, this is just alt + tab for macOS.
Dockless Wonder
At this point, the Dock has been supplanted by faster keyboard shortcuts. Little more than a trophy shelf of app icons, the Dock is now more akin to a layabout freeloader occupying otherwise valuable real-estate. Like a vagabond firmly established on our living room couch we skirt around them, yearning for the full freedom our space could offer but ultimately conceding a sizeable portion to them.
System Preferences includes an "auto-hide" option for the Dock, but it will reappear if the cursor remains too close to the boundary for a duration just short enough to be annoying. Ideally, we'd remove the Dock entirely, only summoning it if and when we absolutely want it.
Unfortunately, macOS doesn't (currently) have an option to hide the Dock permanently, but here's a script that will effectively do that by setting an excessive delay on the auto-hide setting.
defaults write com.apple.dock autohide-delay -float 1000
defaults write com.apple.dock autohide 1
killall Dock
☝️ Run that in a terminal. The Dock will disappear*, and it'll only come back if the cursor lingers at the boundary for 1000 seconds. Don't believe me? Try it! I'll wait.
As previously stated, the ideal scenario is to have the freedom to summon the Dock at our leisure with ease. 1000 seconds doesn't quite offer the agility we're after. Thankfully, there is a keyboard shortcut which toggles the auto-hide setting. Having set the auto-hide duration to an absurdly high value, this shortcut now effectively serves as a show/hide toggle for the Dock.
Toggle auto-hide of the Dock.
Now we can have our Dock and click it too.
* In recent versions of macOS (i.e. 12.1) the system seems to ignore / bug out after scripting the auto-hide setting, and the Dock may reappear. Relentless! If that happens, simply use the ☝️ aforementioned shortcut to toggle it. This will activate the setting.
Cheat Sheet
So far, we've:
- Familiarised ourselves with the various Mac keyboard symbols.
- Filled the keyboard-based window management gap in macOS with third party software
- Removed the need for the Dock, with keyboard-based controls for app-launching and -switching:
- Spotlight Search, and
- App Switcher.
- Hidden the Dock to maximise available desktop space.
- Learned of an easy way to summon the Dock temporarily if needed.
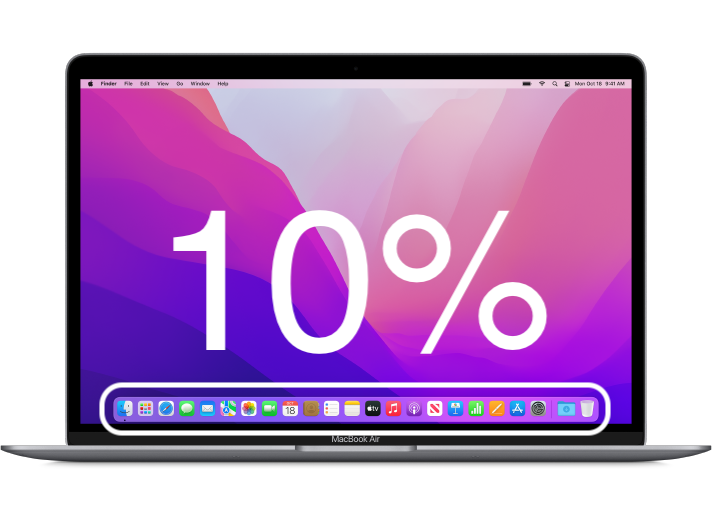
At this point you will already save minutes per day, reduce the risk of RSI, and can enjoy approximately 10% more screen-space.
But wait... There's more.
Below is an inexhaustive cheat sheet of various useful shortcuts. Try them out! They can't do any real harm.
Cycle between desktops.
Summon Mission Control.
At best, this substitutes the trackpad gesture.
Show all windows of the current app.
Navigate between items and windows with the arrow keys.
Cycle through windows of the current app.
Close the current window.
Quit the current app.
Lock the device.
Open Spotlight Search.
Press return to select.
Open the App Switcher.
Cycle through apps in the App Switcher.
continue to holdTo open a minimised app, hold ⌥ when releasing ⌘.
Cycle through apps in the App Switcher (alternative, more difficult).
Toggle auto-hide of the Dock.
Final Gift
How do you know all these shortcuts?!
There's no trick to it - it's just a simple trick! You'll find the secret is hidden in plain sight...
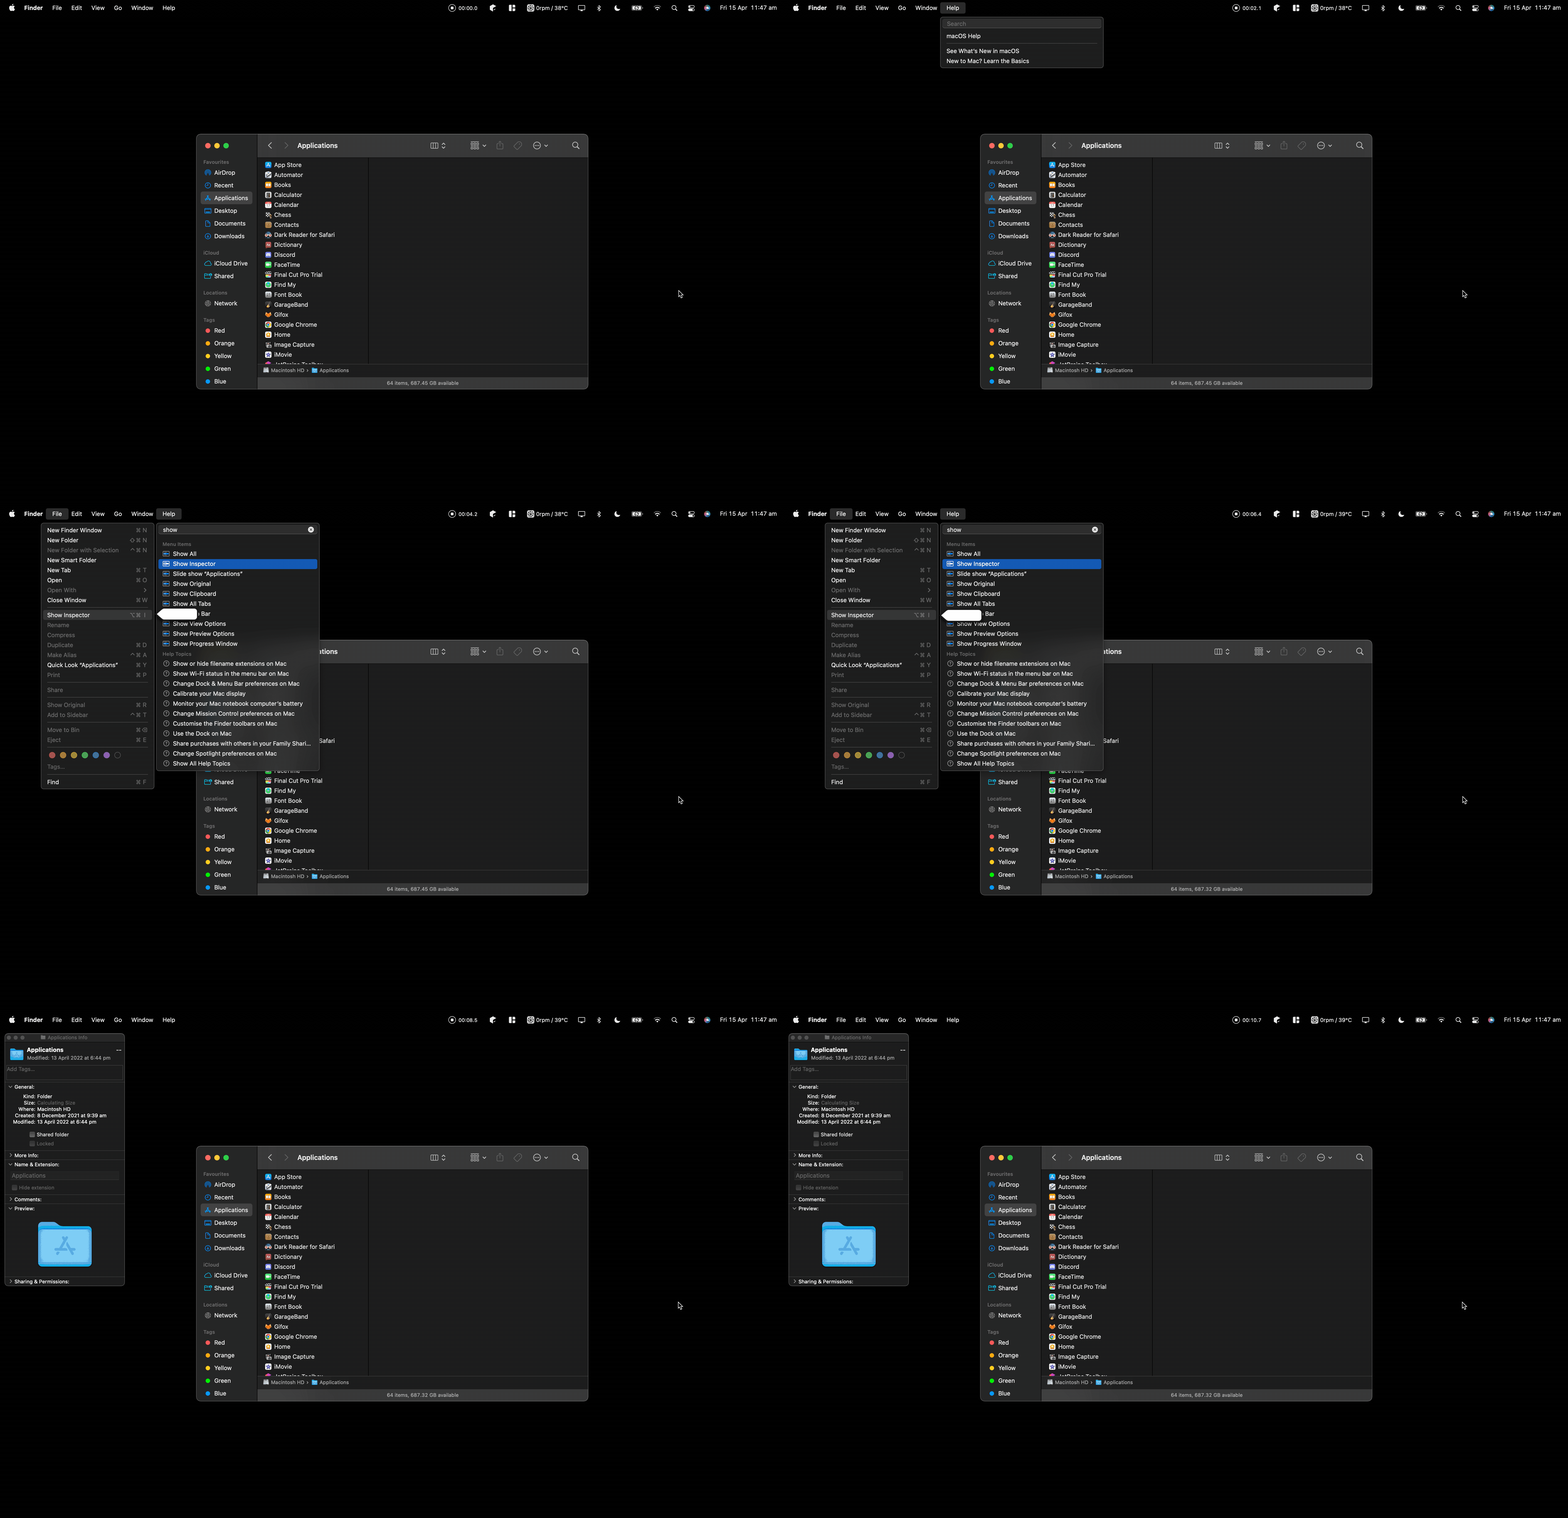
Search the current app's menu options.
In macOS, any menu option that has a keyboard shortcut associated with it will typically display that shortcut beside it in the Menu Bar. There's already an example of this in the above screenshot of Magnet.
Most / all apps follow this pattern. This is, for the most part, how I learn keyboard shortcuts for any macOS app.
Otherwise, Google.
Closing
It's difficult to measure the amount of time saved with keyboard shortcuts. The gains occur not just within the boundaries of the actions covered in this article but also with the sustained state of focus that comes from being able move quickly about the operating system unabated, unconstrained by hand-eye coordination, limited only by our typing speed and perhaps caffeination levels. Our work remains uninterrupted. We stay "in flow".
When I became proficient with keyboard shortcuts - once they were baked into my muscle-memory, instinctive, after much practise and repetition - the delay between intent and outcome in almost every interaction with the system decreased by an order of magnitude.
I now observe even the most talented developers who remain in 100% mouse-mode, despairing, imagining what could be if they would only learn a keyboard shortcut or two.
